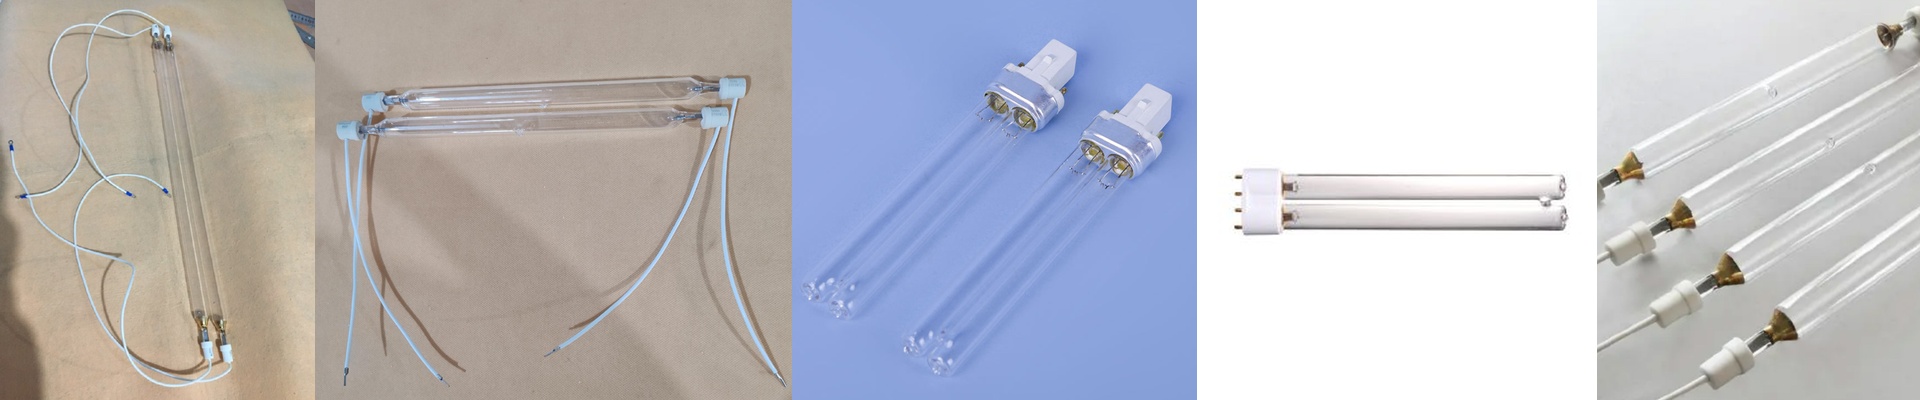
Getting Your Mercury UV Bulbs to Actually Behave
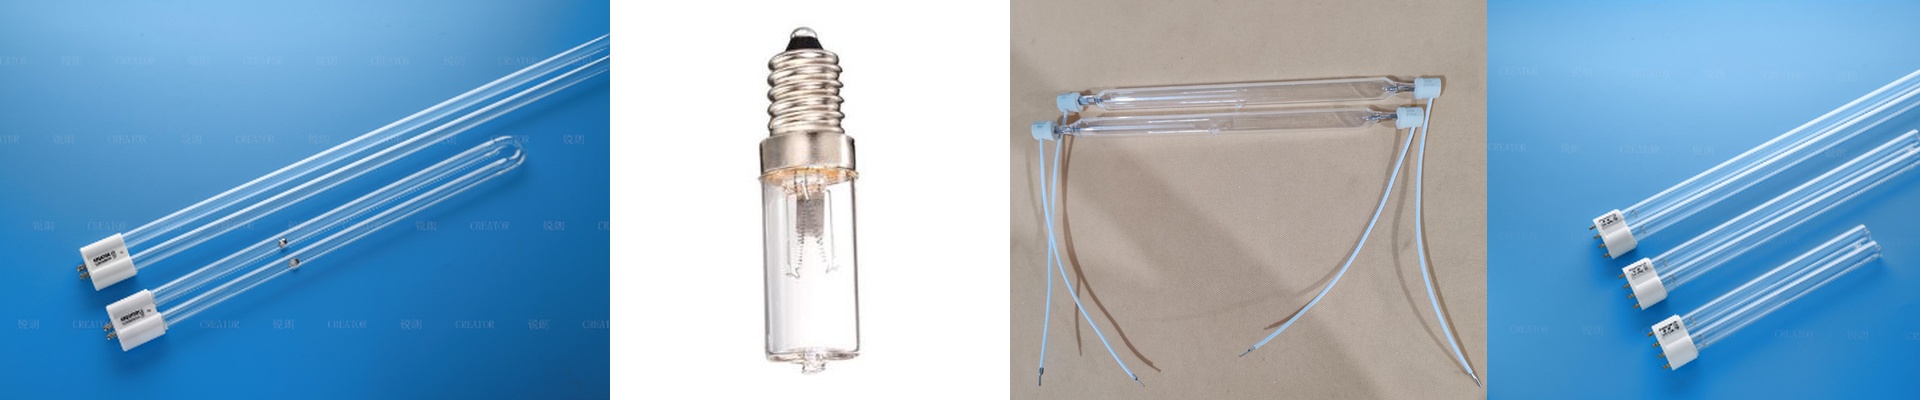
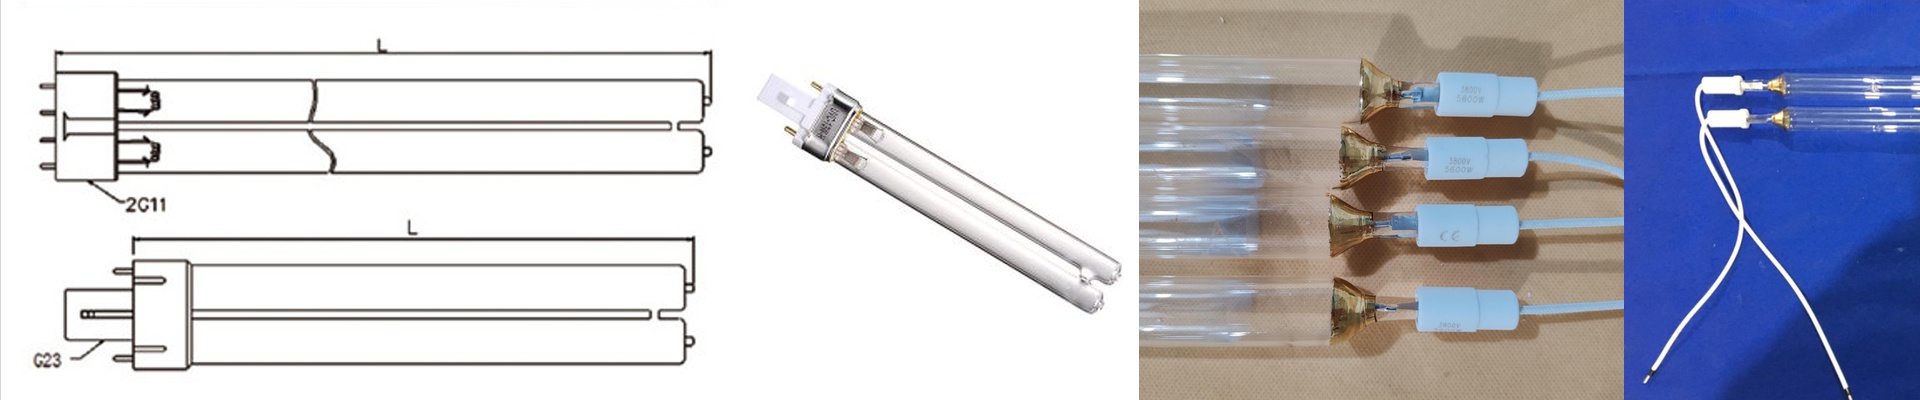
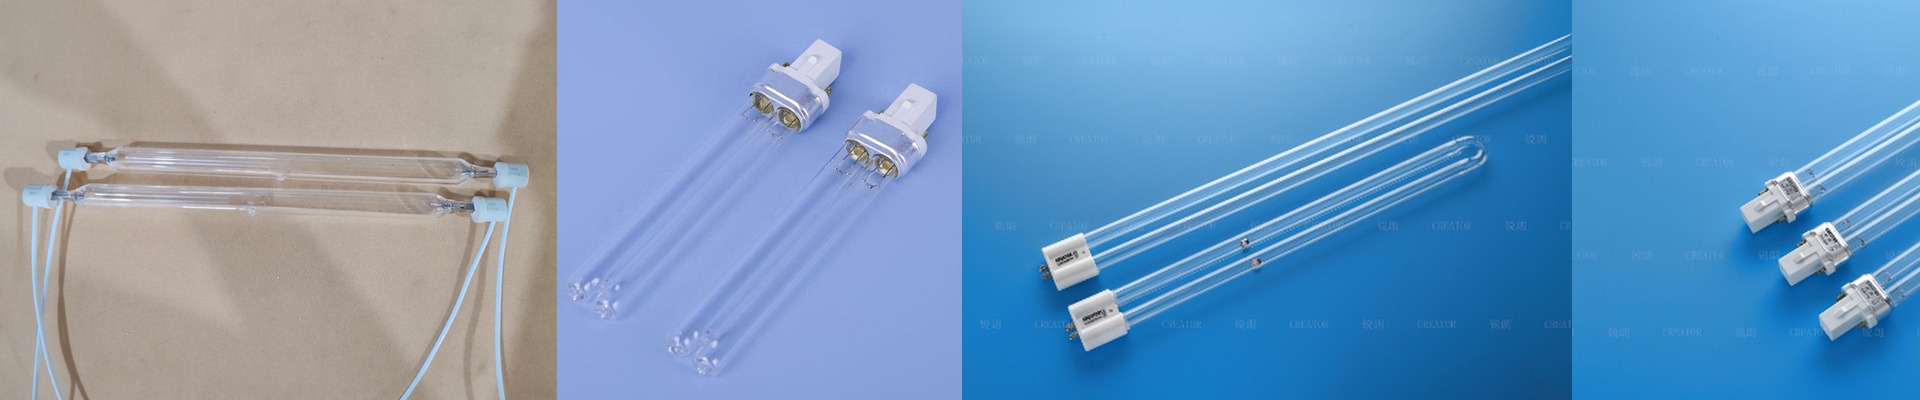
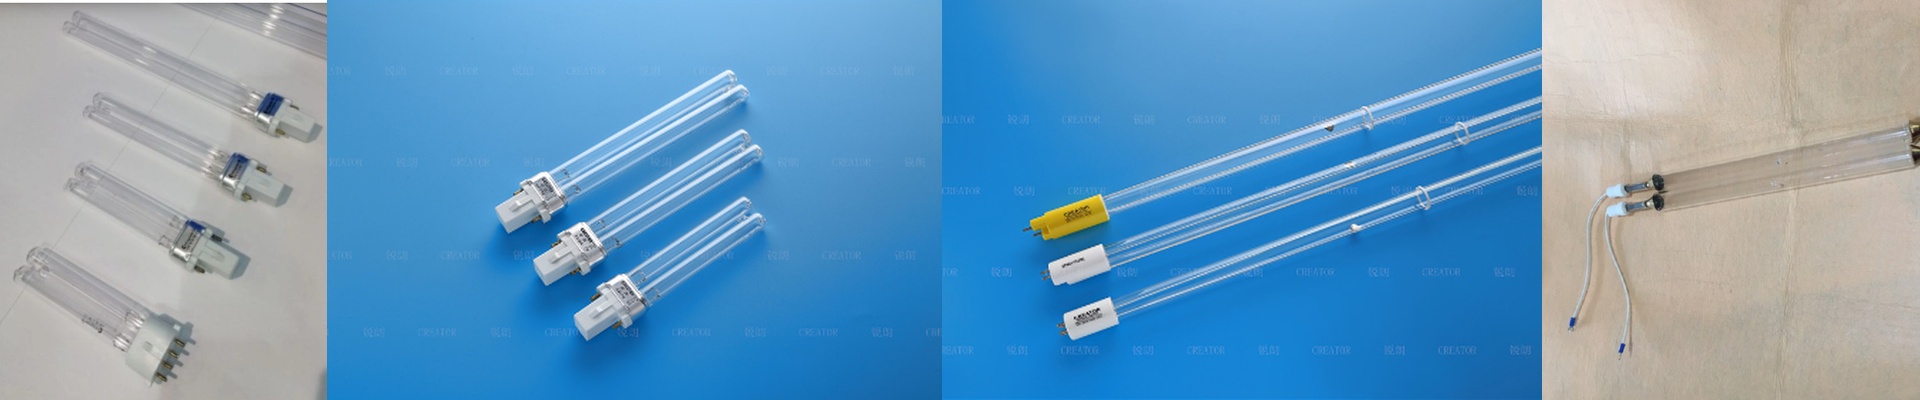
Most mercury UV bulbs you buy off the shelf are a bit of a gamble. They throw out a broad spectrum of light, which is fine for basic jobs, but if you’re chasing a perfect cure and a rock-hard surface, “fine” doesn’t cut it. You need the energy hitting exactly the right wavelengths. The battle for that 0.5% We spent a ton of time in R&D obsessed with tightening the spectral energy concentration. We were chasing a 0.5% variance. It sounds like a tiny number, but it’s a nightmare to hit. It isn’t just about one part; it’s the chemistry of the fill and the purity of the quartz. If the mercury pressure jumps around or there’s a tiny speck of junk in the glass, the spectrum drifts. That’s how you end up with those annoying “under-cured” soft spots or, worse, scorched surfaces. We had to tweak the fill volume and the shape of the electrodes just to lock that energy in place. Dealing with the heat To make this work, we use high-transmittance fused quartz. Basically, we want the UV light to pass straight through the glass instead of getting soaked up by it. This puts way more UV-C and UV-B right where it belongs—on your substrate. But there’s a catch. All that efficiency creates a lot of heat. If your cooling fans aren’t up to the task, the quartz gets stressed. The bulb burns out way too fast. It’s a simple trade-off: more power means you need better airflow. Keeping it steady The upside? Your process becomes predictable. You can set your conveyor speed and actually trust that the parts coming off the line are cured perfectly every single time. But here’s the thing: these bulbs are picky. They hate voltage spikes. If your power supply is jumping all over the place, it shifts the discharge arc and ruins the precise concentration we worked so hard to build. Grab a stabilized ballast to keep the output flat. It stops the grid from beating up your lamp and helps it actually last as long as it’s supposed to.