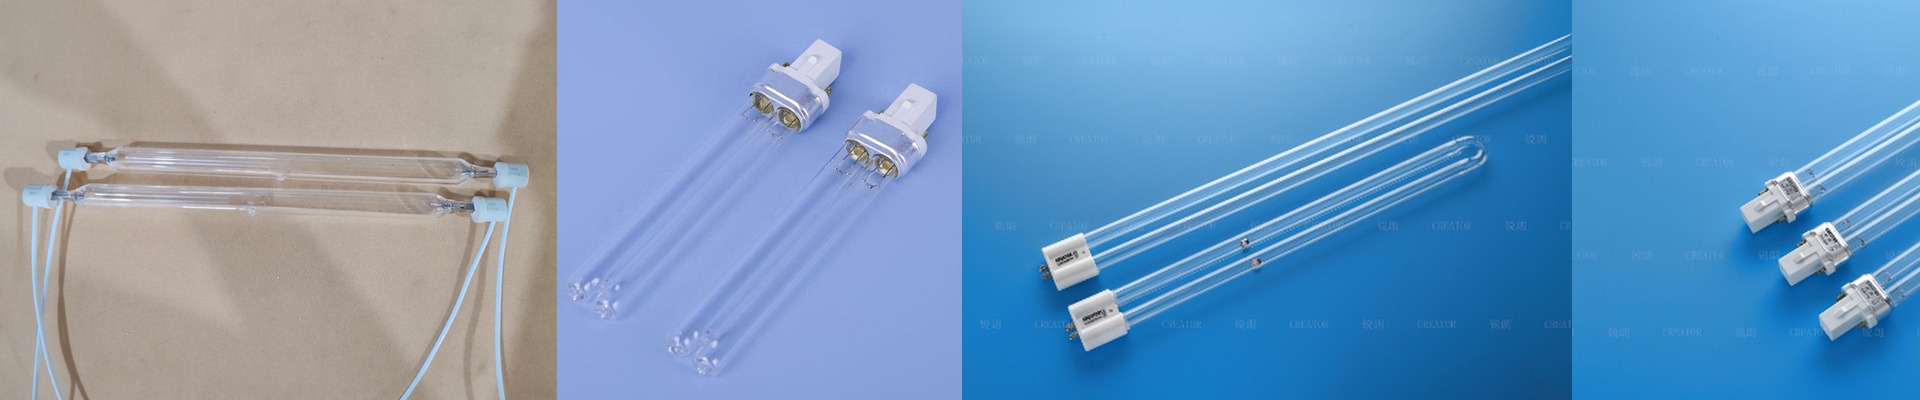
Getting Your UV Curing Right
When you’re printing on fabric, you just want the ink to stick. Period. You want it fast, you want it permanent, and you don’t want it rubbing off the first time the customer throws it in the wash. That’s where our UV lamps come in. They handle the heavy lifting of curing that ink. But here’s the thing: if your wavelength is slightly off or the intensity dips, you’re looking at ink migration or prints that just don’t hold up. Not a great look.
The Secret is in the Light
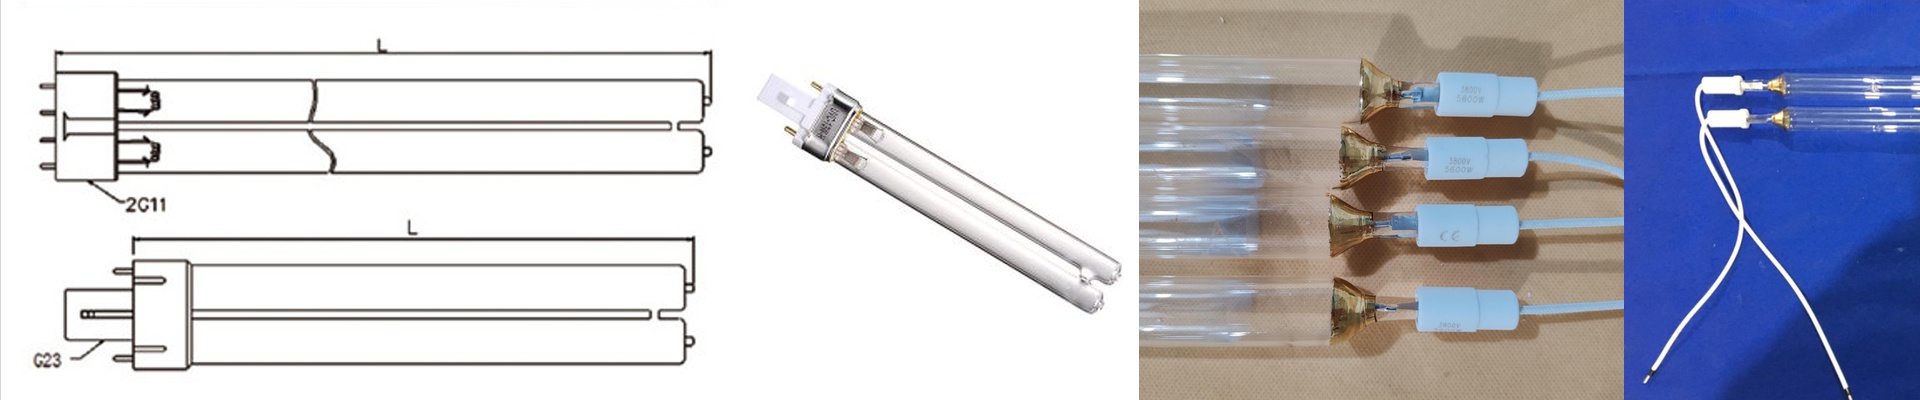
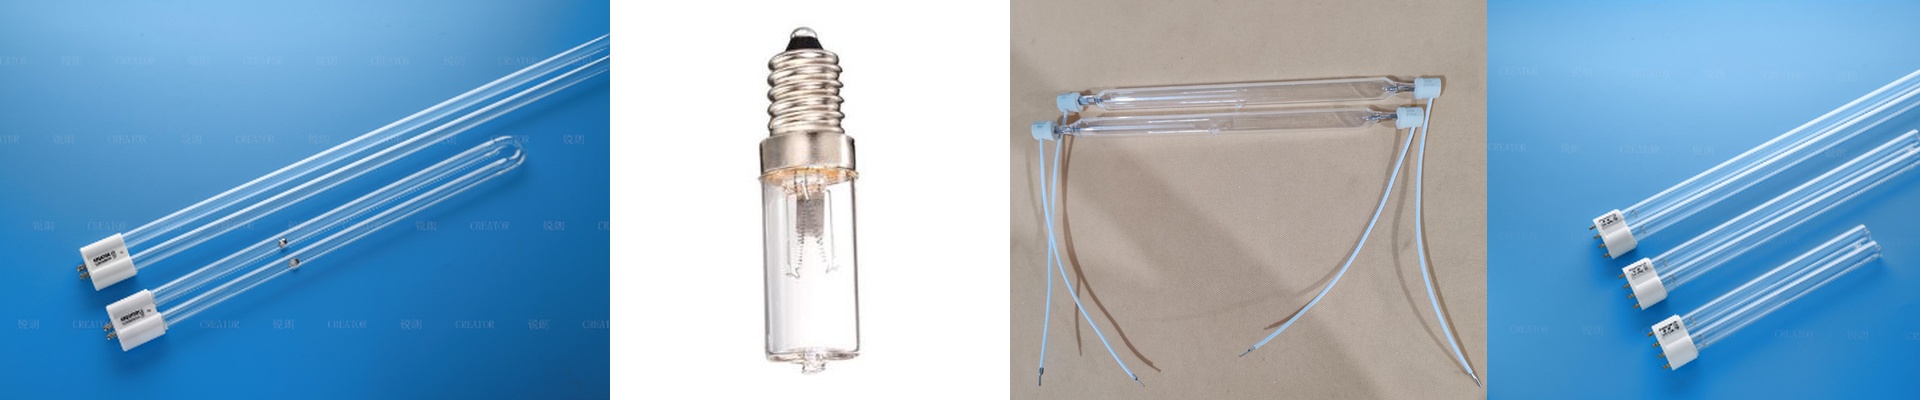
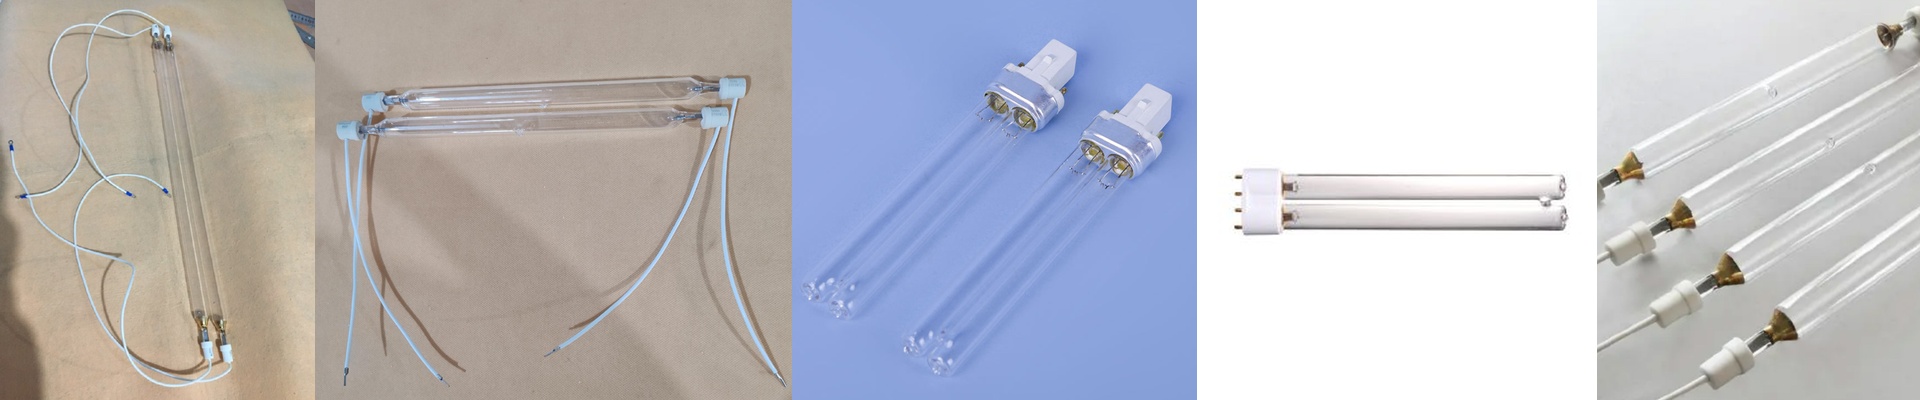
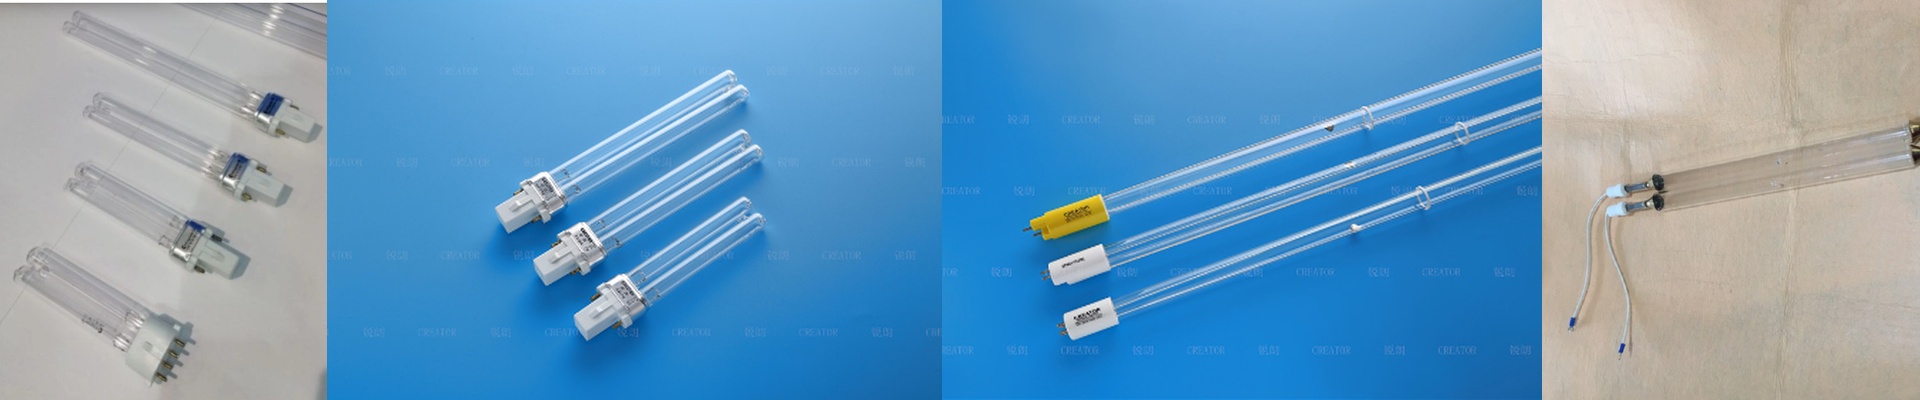
We stick to a narrow-band UV output. Why? Because it makes the photoinitiators in your ink react the second they hit the light. If you need to move more product, you can bump up the wattage. This lets you crank up the speed of your conveyor belt without worrying about those annoying under-cured patches. We also use high-purity quartz glass. It stops the lamp from absorbing its own light, so almost every bit of that energy actually hits the fabric.
Dealing with the Heat
UV lamps get hot. Really hot. If a tube overheats, the electrodes wear out and your lamp dies way sooner than it should. To stop that, we build in cooling jackets that keep everything at a steady temperature. Just make sure your exhaust system is doing its job. If that heat lingers, you risk scorching the fabric or warping your print. Nobody wants a ruined roll of material.
Swapping and Maintenance
We didn’t want you spending hours on installation, so we designed these to be drop-in replacements for standard industrial frames. We use basic, standardized connectors, so wiring them up during a maintenance window is quick and painless. Now, there is a bit of a trade-off here. If you run your lamps at max power, you’ll cure faster, but you’ll be replacing tubes more often. Our best advice? Check your UV intensity every 500 hours. Once the output hits 80%, swap the tube. It’s a lot cheaper to replace a lamp than it is to deal with a batch of rejected prints on the production floor.